Create Your Textbook#
Now that you’ve set up your environment and are ready to go (see the Overview), this section will guide you through the next steps: uploading your PDF files, parsing them, and building your interactive textbook. Let’s turn your raw content into a polished digital resource!
1. Uploading and Parsing Your PDF#
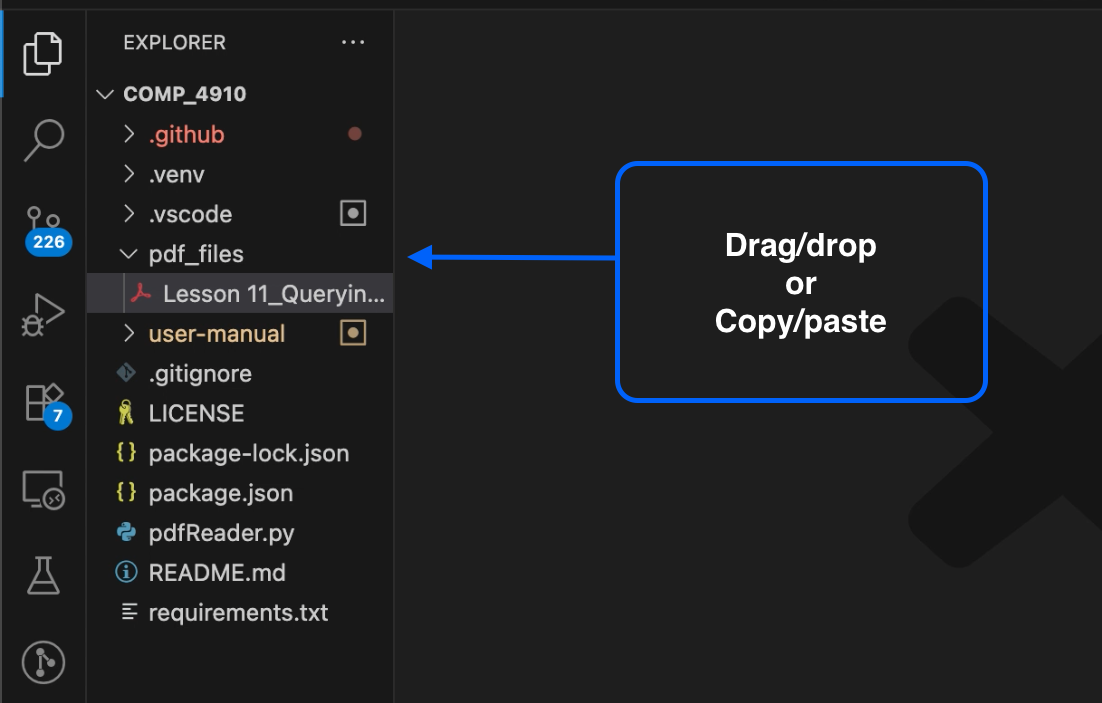
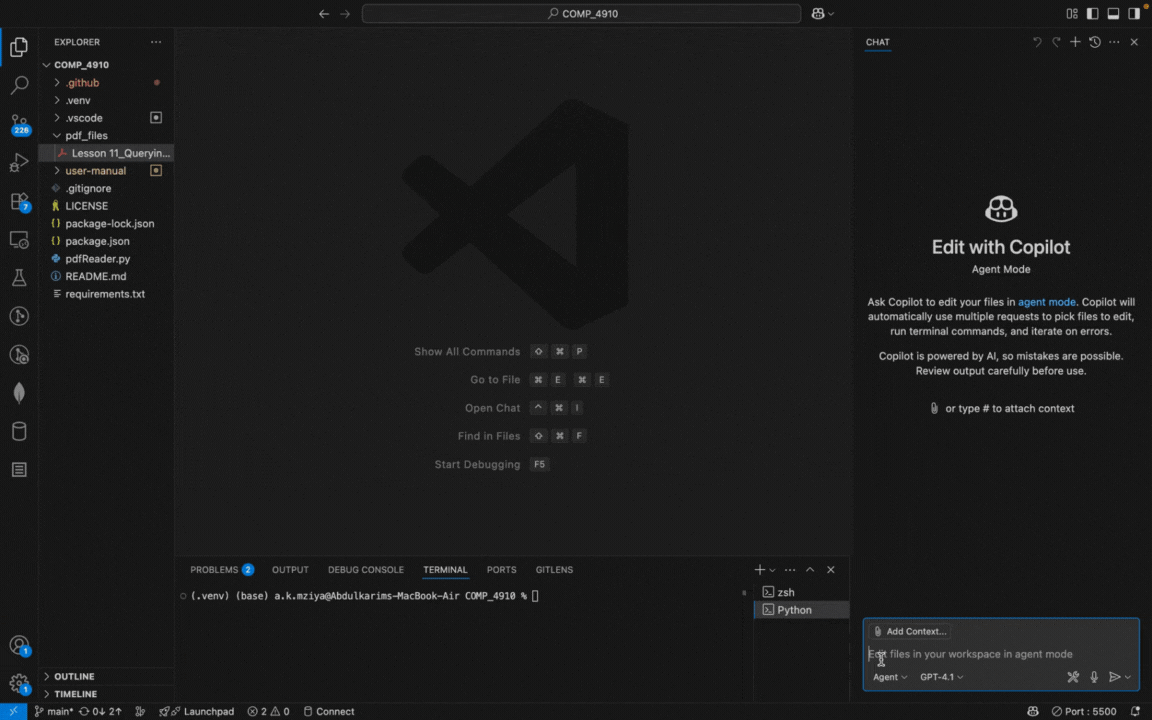
To get started, simply add your PDF file(s) to the pdf_files/ directory in your project. Once your files are in place, use the /parse_pdf slash command. The agent will automatically locate your PDFs, extract the text, and organize the content for textbook creation.
After parsing, you’ll find the processed files neatly stored in the output/ directory, following the order in which they were processed. This makes it easy to review and build your textbook from the extracted content.
Demo: How to upload a PDF file
Demo: How to upload and parse a PDF
Tip
If your PDF has multiple chapters or sections, you can upload several files at once. The agent will process each one in turn.
2. Creating the Textbook#
Once your PDFs are parsed, you’re ready to build your textbook! Follow these steps:
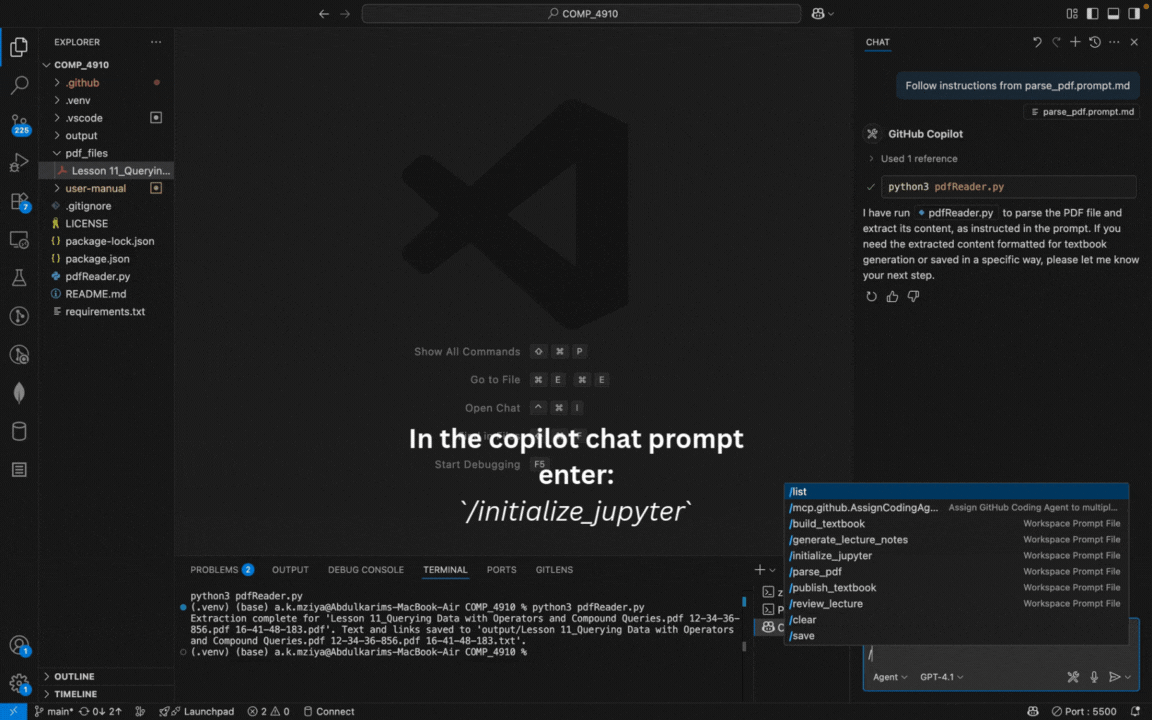
Run the
/initialize_jupyterslash command to set up your Jupyter Book environment. This prepares your project for lecture generation and ensures everything is configured correctly.
Demo: Initializing Jupyter Book
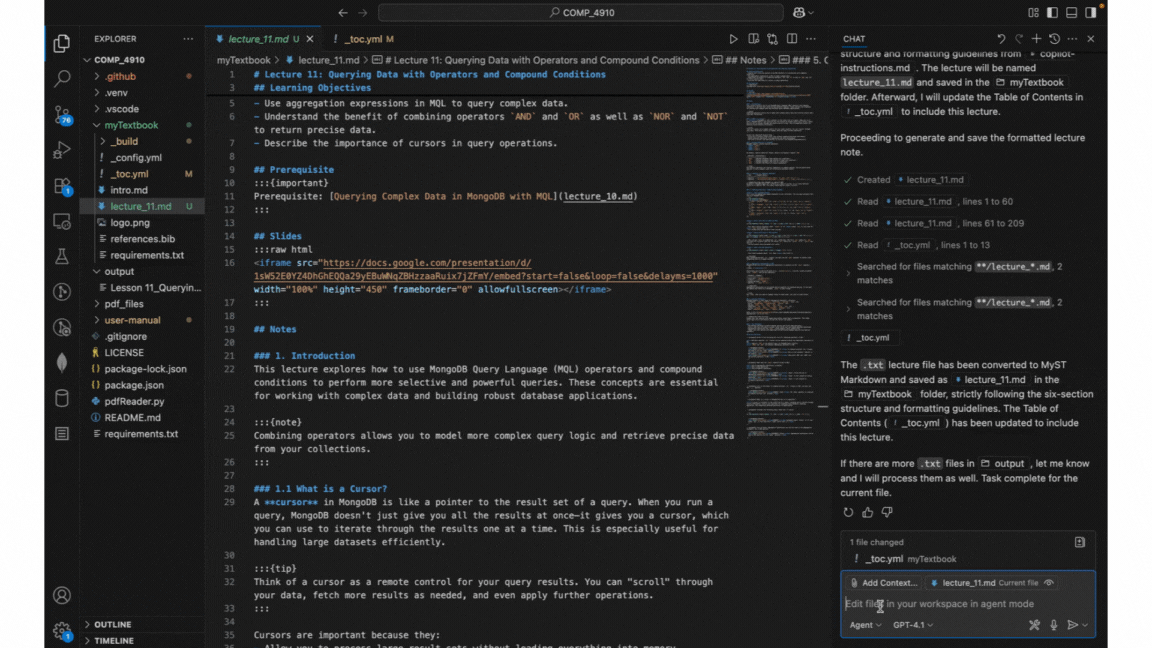
Next, run
/generate_lecturesto automatically create structured lecture notes from your parsed content. The agent will organize and format your material into clean, interactive chapters.Note
After generating lectures, always check that your
_toc.ymlfile (Table of Contents) is structured correctly. This ensures all chapters are included in the right order and your textbook builds without errors. For more details, see the Jupyter Book Table of Contents documentation.
3. Reviewing and Refining Lecture Notes#
If you want to review or refine a specific lecture note, use the /review_lecture command. This lets you check, edit, or improve individual lectures before publishing your final textbook. You can make adjustments to formatting, add clarifications, or ensure consistency across your chapters.
Tip
It’s a good idea to review your lecture notes after generating them, especially if your source PDFs had complex formatting or special content. This helps catch any issues early and ensures your textbook is clear and accurate.
Note
You may use /parse_pdf, /initialize_jupyter, /generate_lectures, and /review_lecture as many times as you need. For example, if you add new PDFs, want to reformat your lectures, or need to update your textbook after making changes, simply rerun the relevant commands.
Warning
Be careful when re-running these commands after making major changes to your files or directory structure. For instance, if you delete or rename files, or change the order of your PDFs, you may need to re-parse and regenerate your lectures to keep everything in sync. Always check your output to ensure your textbook is up to date and accurate.
4. Building and Viewing Your Textbook#
After generating your lecture notes, you can build and preview your textbook to see how it will appear to readers.
To build your textbook, run the build command for your environment:
jupyter-book build myTextbook/
or use the provided slash command /build_textbook.
Once the build is complete, you can view your textbook in one of two ways:
Live View in VS Code:
Use the Live Server extension or a similar tool to open the generated HTML files in the
_build/html/directory.This allows you to preview your book locally and check formatting, navigation, and content.
Demo: How to open the HTML files in Live Server
View Online (if published):
If you have published your book (e.g., via GitHub Pages), use the link provided after the build and deploy process to view your textbook online.
The link will typically look like
https://<your-github-username>.github.io/<your-repo-name>/.
Tip
Preview your book after each major change to catch formatting issues or broken links before sharing it with others.